Allowing Access
First, give the SAFE Billing Platform permission to access your Xero data.
Steps:
- Go to Main Menu > Advanced tab > Xero (Accounting) > Account Linking/Status
Note: If you can’t see the Advanced tab, ask your data protection officer for help.
Note
If you have multiple dealers set up, you will need to pick which dealer you wish to manage. Each dealer may link to a different Xero account.
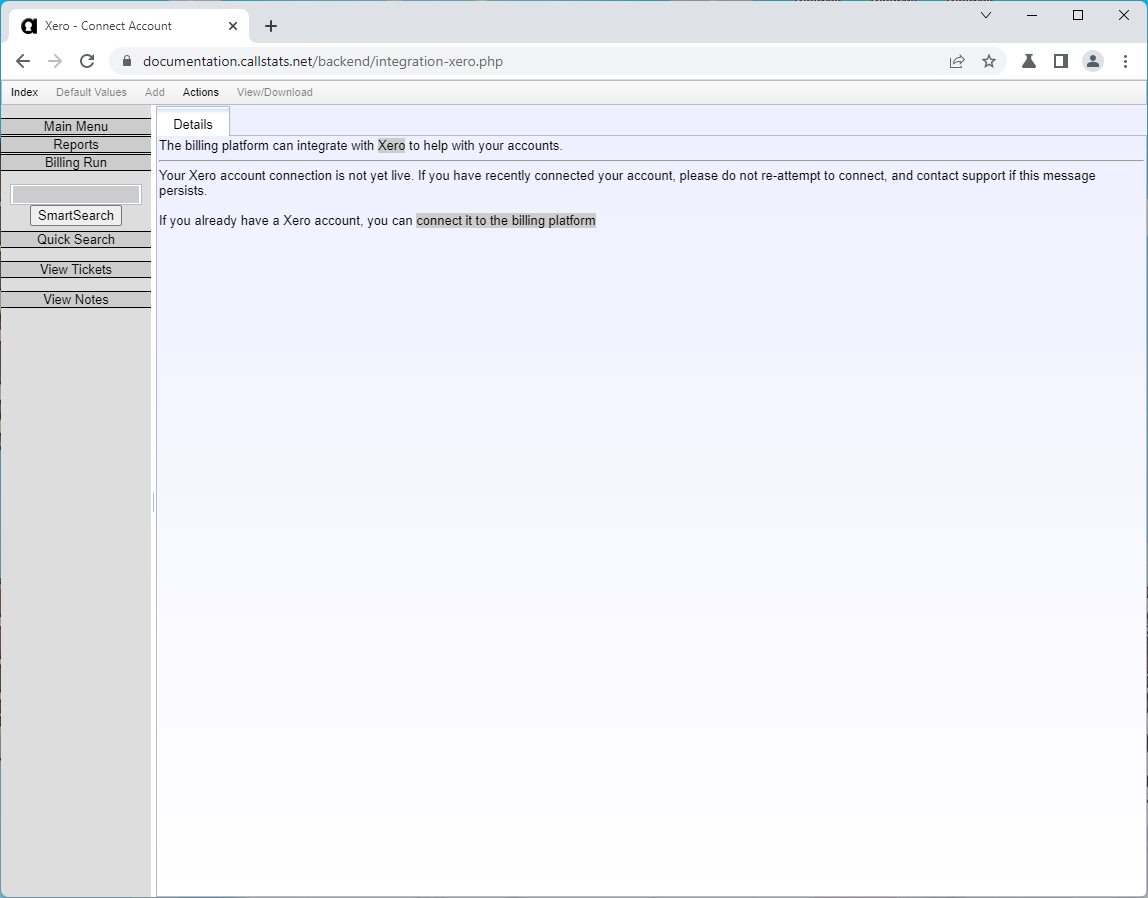
This page shows your connection status. Click connect it to the billing platform to start. You’ll go to Xero’s login page.
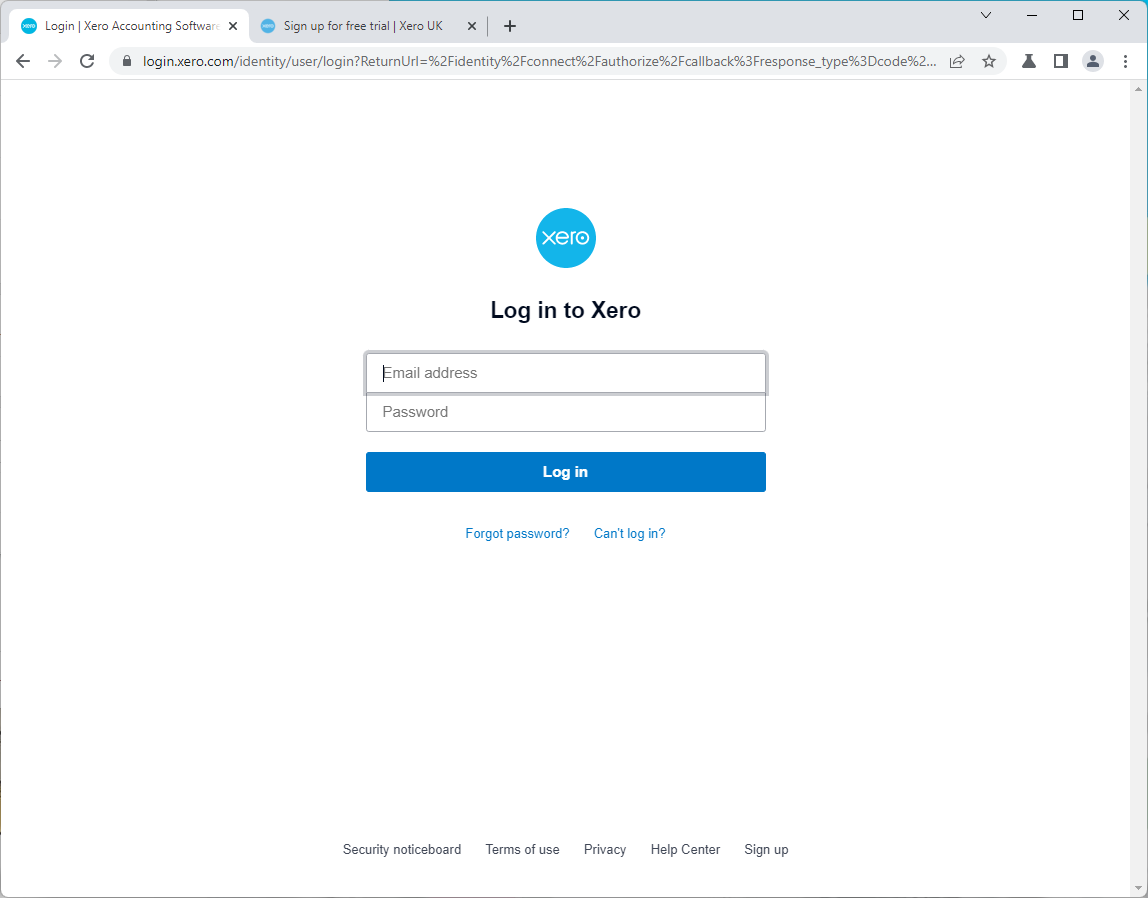
After logging in to Xero, you’ll see what permissions the platform needs. The platform only requests the minimum access required for the integration.

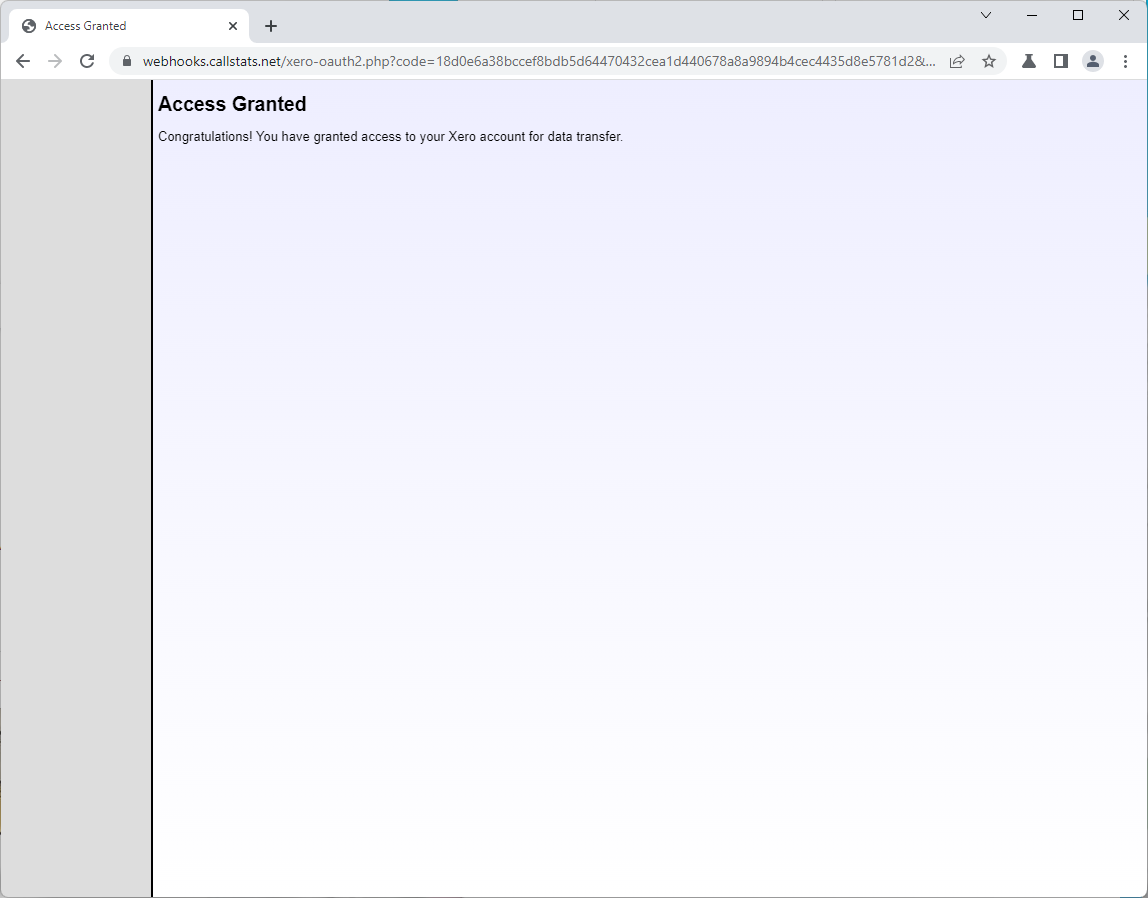
You’ll see a confirmation message when you grant access.
What happens next:
- The platform tests and finalises your connection
- You’ll get an email when it’s ready
- Check the Account Linking page for updates (don’t click connect again)
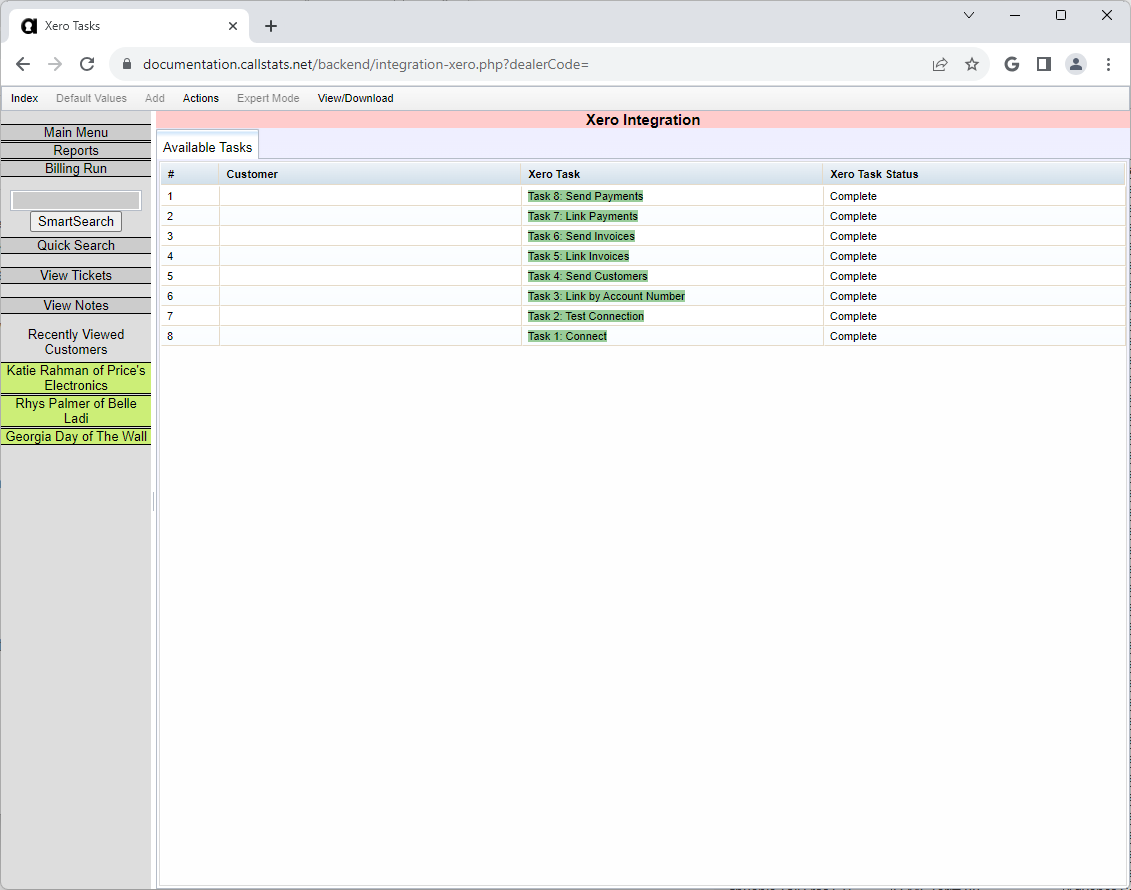
- When live, you’ll see a list of Xero tasks to complete
All users with permission can access Xero tasks from the Main Menu.
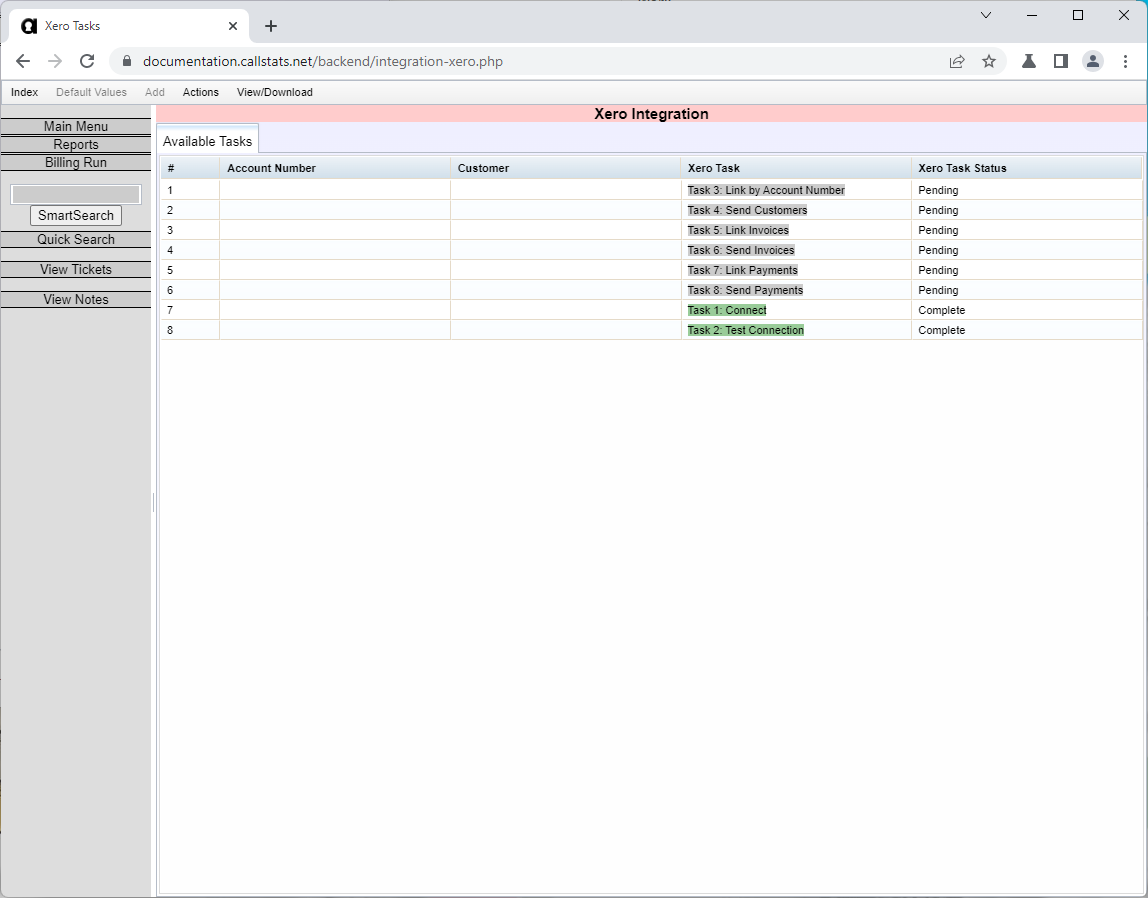
Green tasks marked “Complete” show your connection is working.
Platform Configuration
Before transferring data with Xero, configure these settings in the SAFE Billing Platform.
Codes
Xero uses Item and Account Codes to track payments and invoice items. Set these codes in the platform to match your Xero setup.
Note: You might need your administrator to change some settings for you.
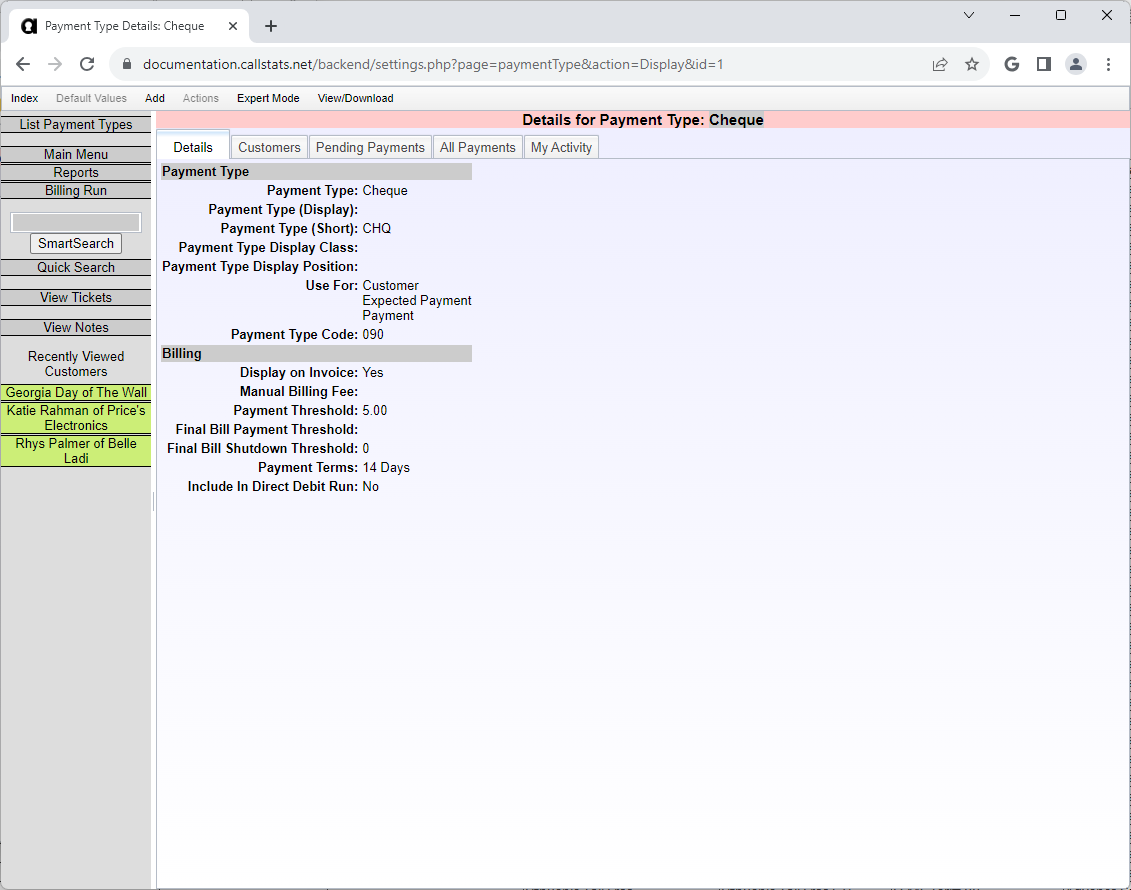
Payments
To transfer payments to Xero, set an account code for each payment method.
How it works:
- Payments with codes transfer automatically
- Payments without codes stay in the platform (useful for balance transfers)
- When importing from Xero, unmatched codes use the customer’s default payment method
Set the account code in each payment type’s Payment Type Code field.
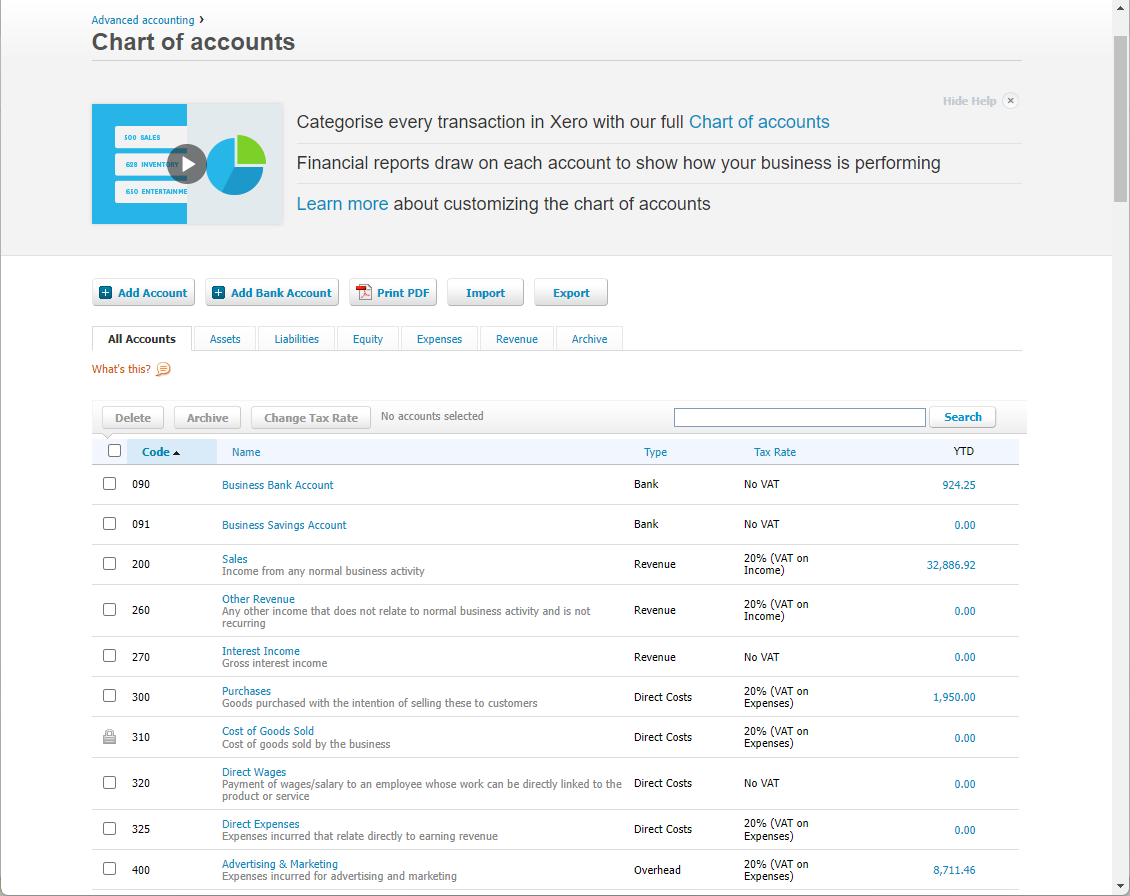
Find Account Codes in Xero: Go to Accounting menu > Chart of Accounts
Line Items
Choose how to show invoice details in Xero:
- Single line item: One line for the whole invoice
- Multiple line items: Separate line for each transaction
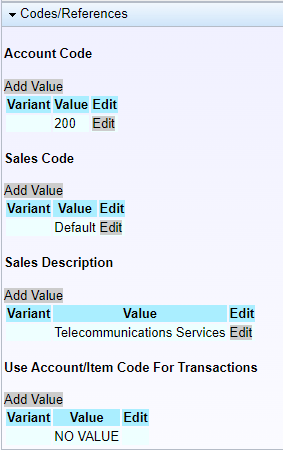
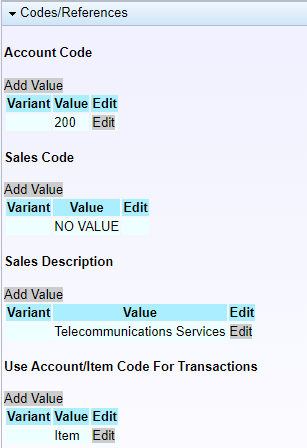
Control this in Accounting Module parameters > Codes/References.
Single Line Item
For one line per invoice:
- Set a Sales Code in parameters (or use “Default” for Xero’s choice)
- Optionally set:
- Account Code: Override Xero’s default account
- Sales Description: Custom description text
Multiple Line Items
For separate lines per transaction:
- Assign codes to transaction types or feature types
- Individual transactions inherit these default codes
- Override codes on specific transactions if needed
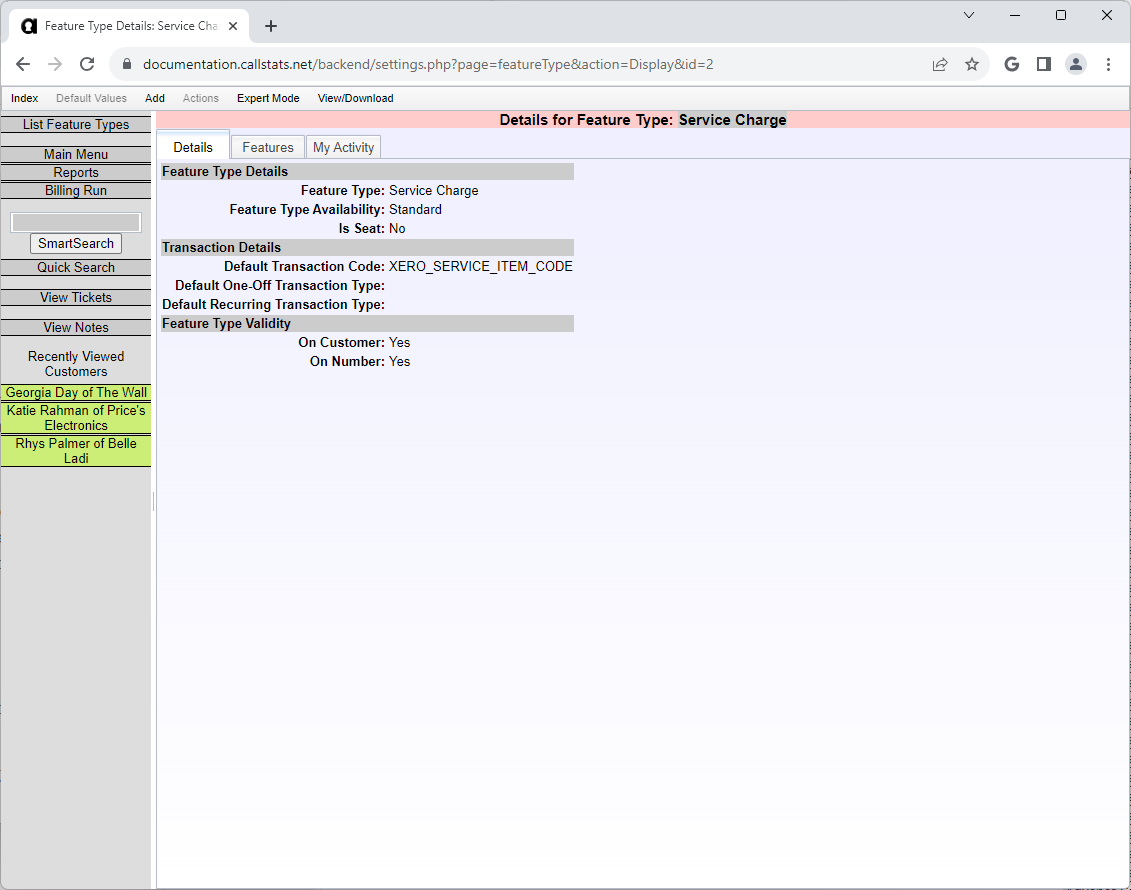
Using the codes:
- Use as Item Codes or Account Codes
- Set a default Account Code for all items (if using Item Codes)
- Add descriptions at transaction, type, or parameter level
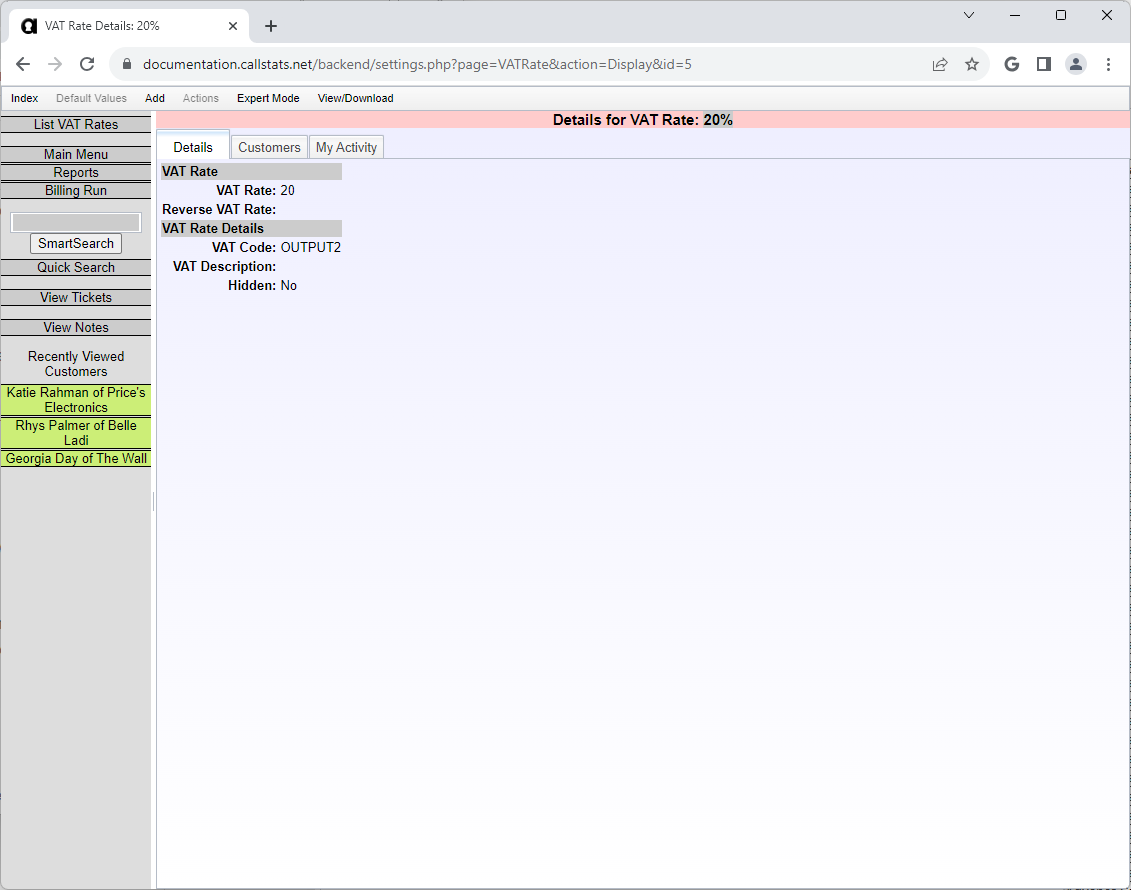
VAT Rates
Match your platform VAT rates with Xero:
- Set the code in each VAT rate’s VAT Code field
- Required for transferring customers and invoices with VAT
Optional Parameters
Customise what transfers to Xero and when.
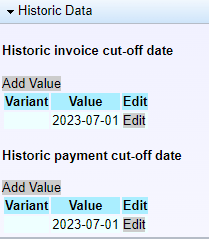
Historic Cut-Off Dates
Don’t want old data in Xero? Set cut-off dates:
- Data before the date won’t transfer
- Existing matches still link automatically
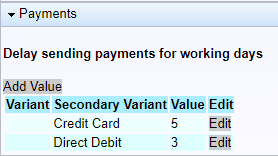
Payment Send Delay
Protect against failed payments by delaying transfers:
- Set delay periods for each payment method
- Allows time for payments to clear
- Prevents insufficient funds issues
Initial Data Transfer
Link existing data between the platform and Xero to avoid duplicates.
Process these in order:
- Customers (contacts in Xero)
- Invoices
- Payments
Important: Complete all steps even if you have no existing data.
Linking Existing Customers
Link customers using their account numbers (most reliable method).
Steps:
- Go to Main Menu > Xero Tasks
- Click Actions > Xero > Link > Customers (By Account Number)
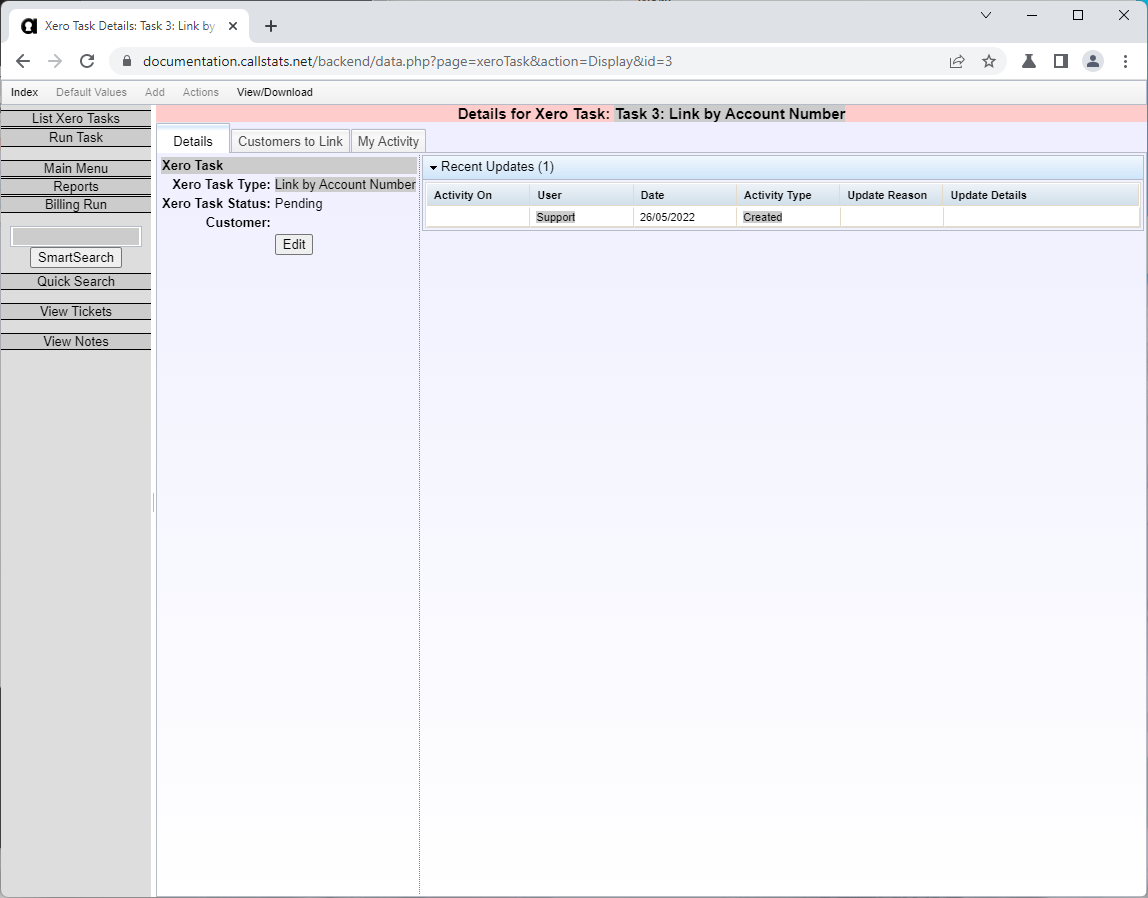
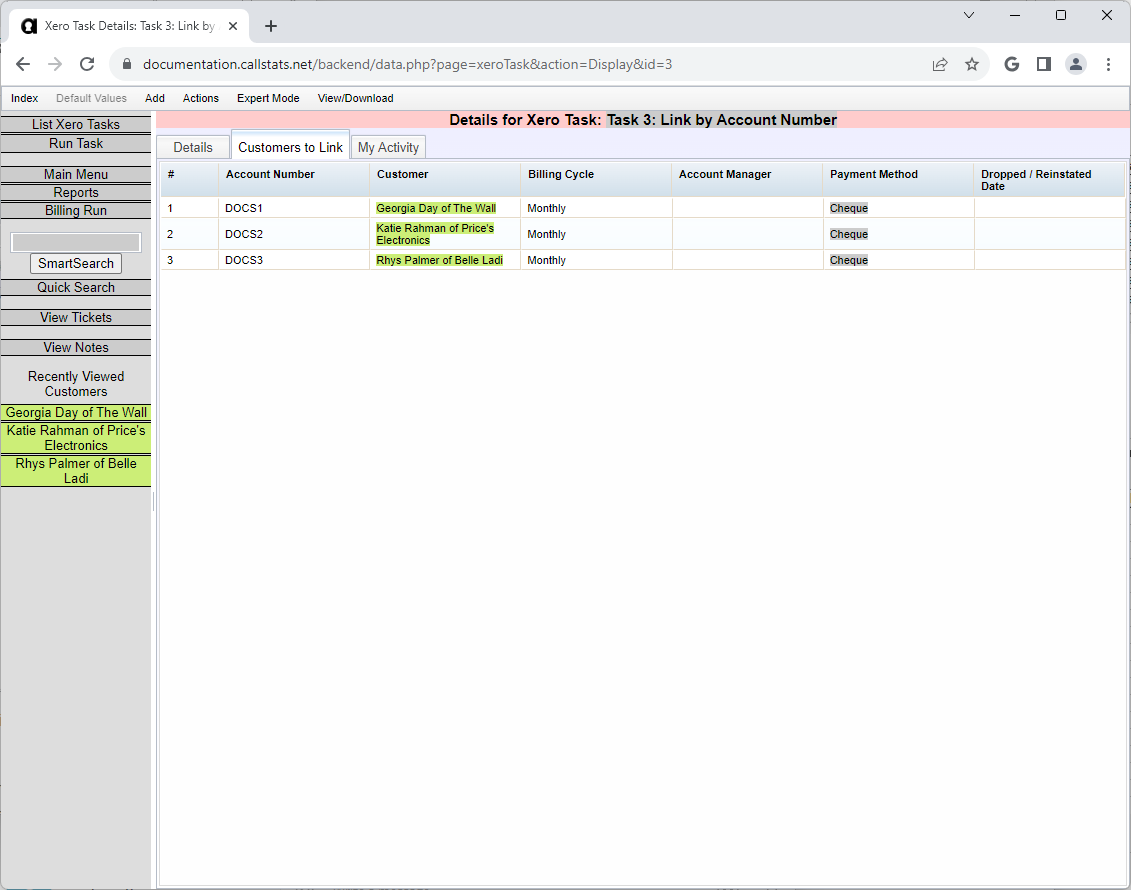
- Check the Customers to Link tab (shows all unlinked customers)
- Click Run Task in the left menu
The task takes a few minutes for many customers. When done:
- Status shows “Complete”
- Task link turns green
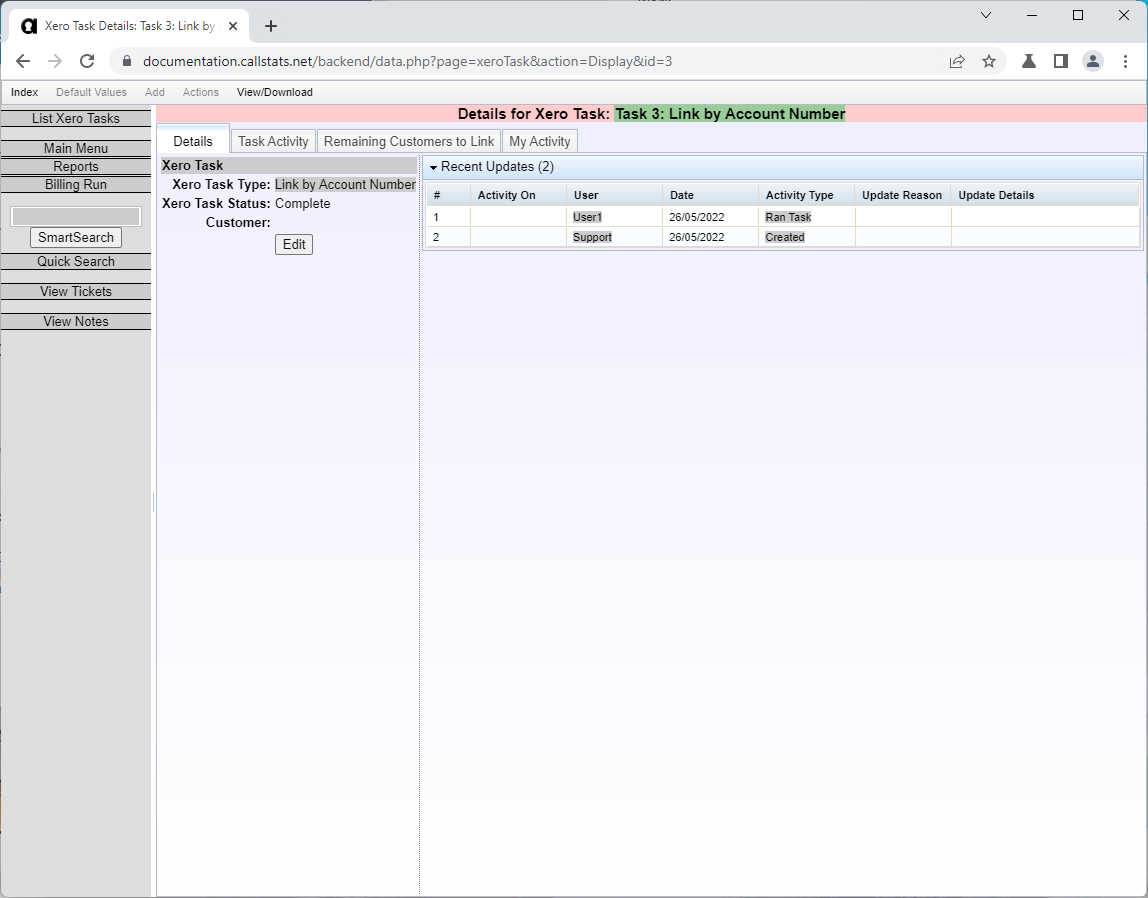
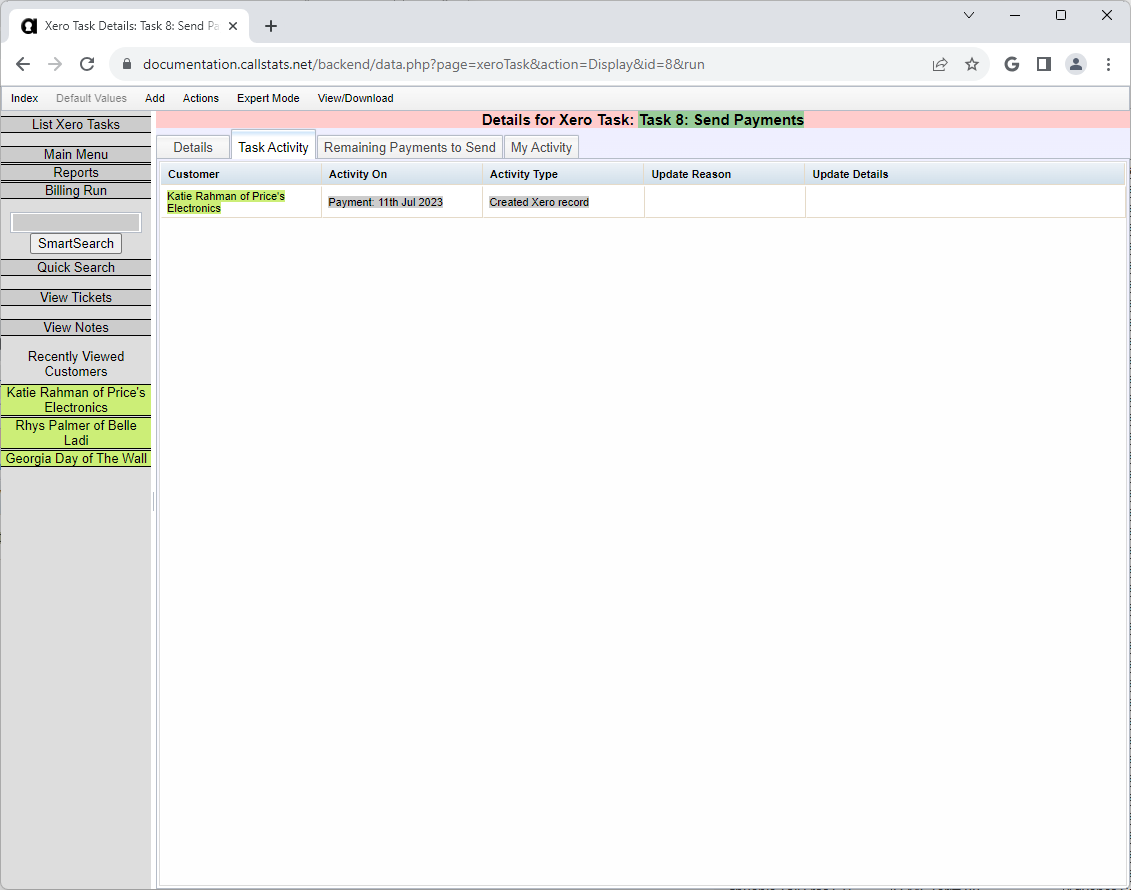
After each task:
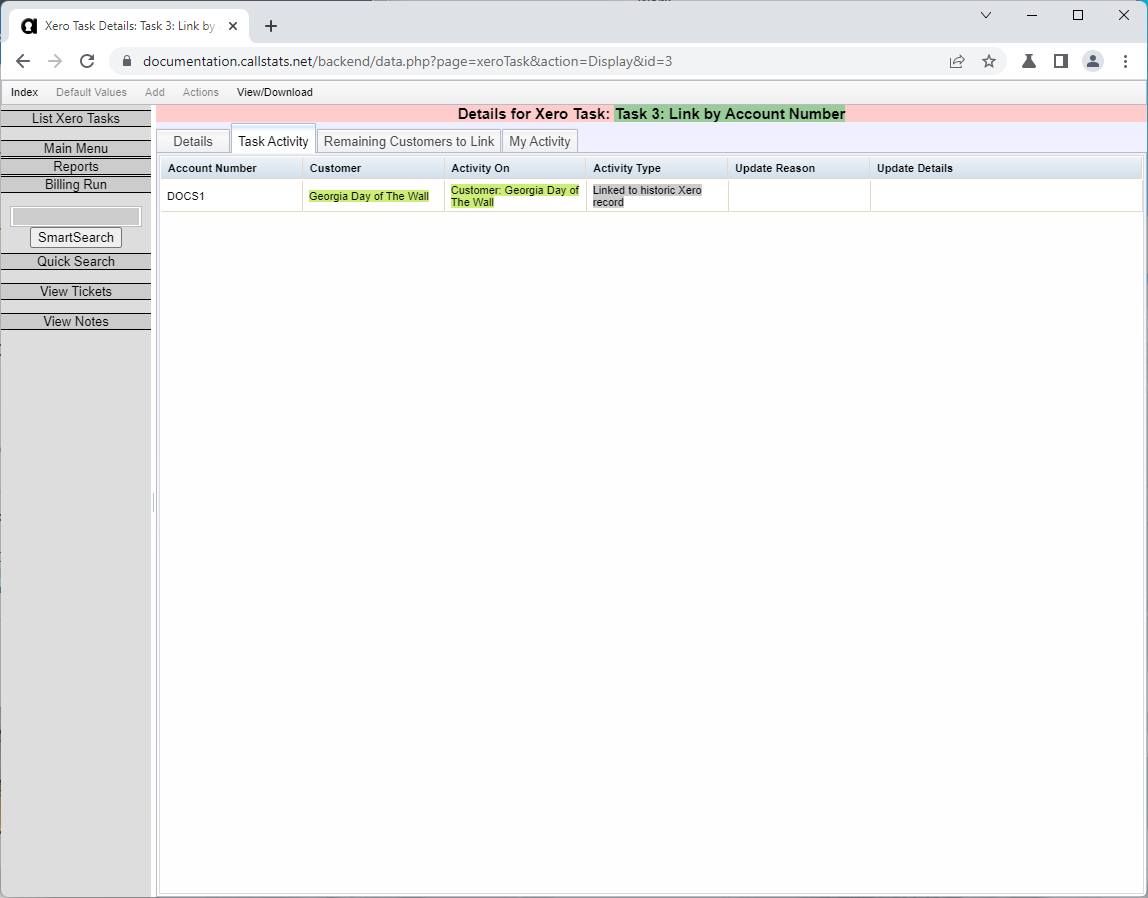
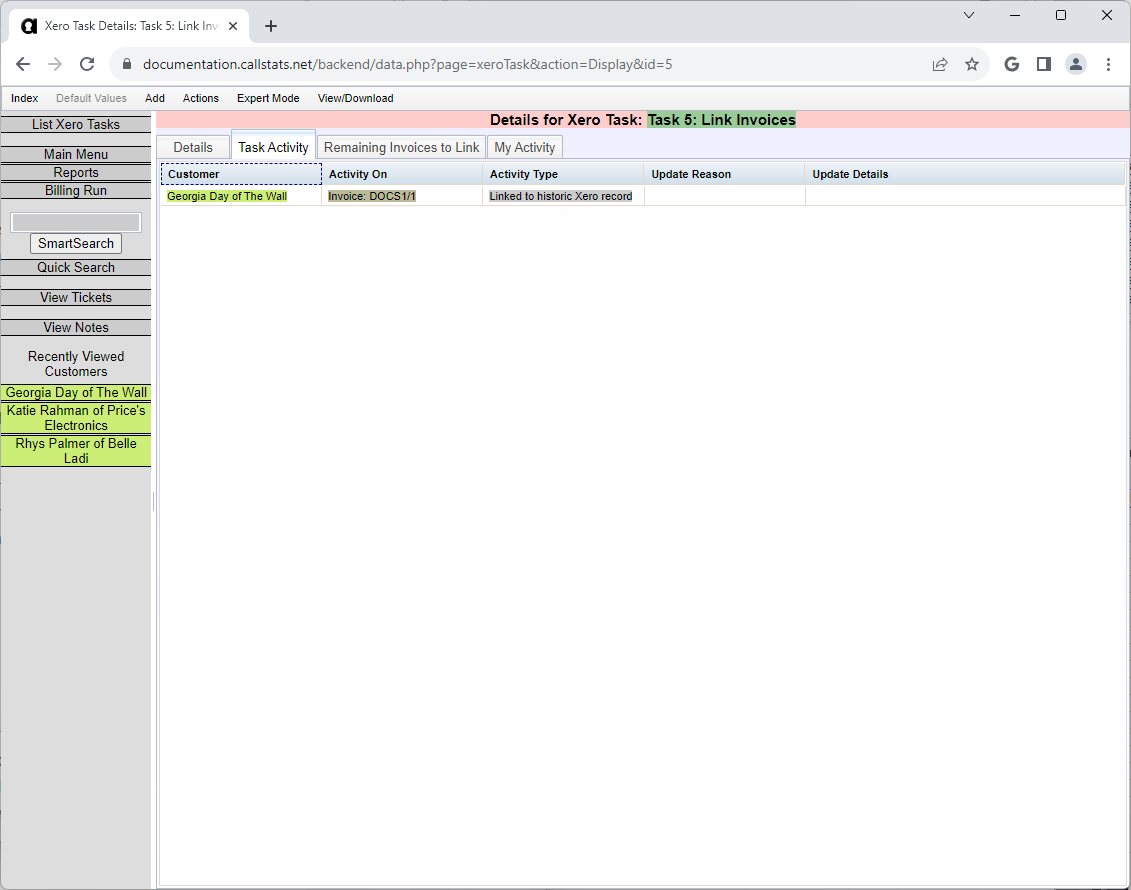
- Check the Task Activity tab
- Review what the platform did
- Only then proceed to the next task
- Check the Remaining Customers to Link tab
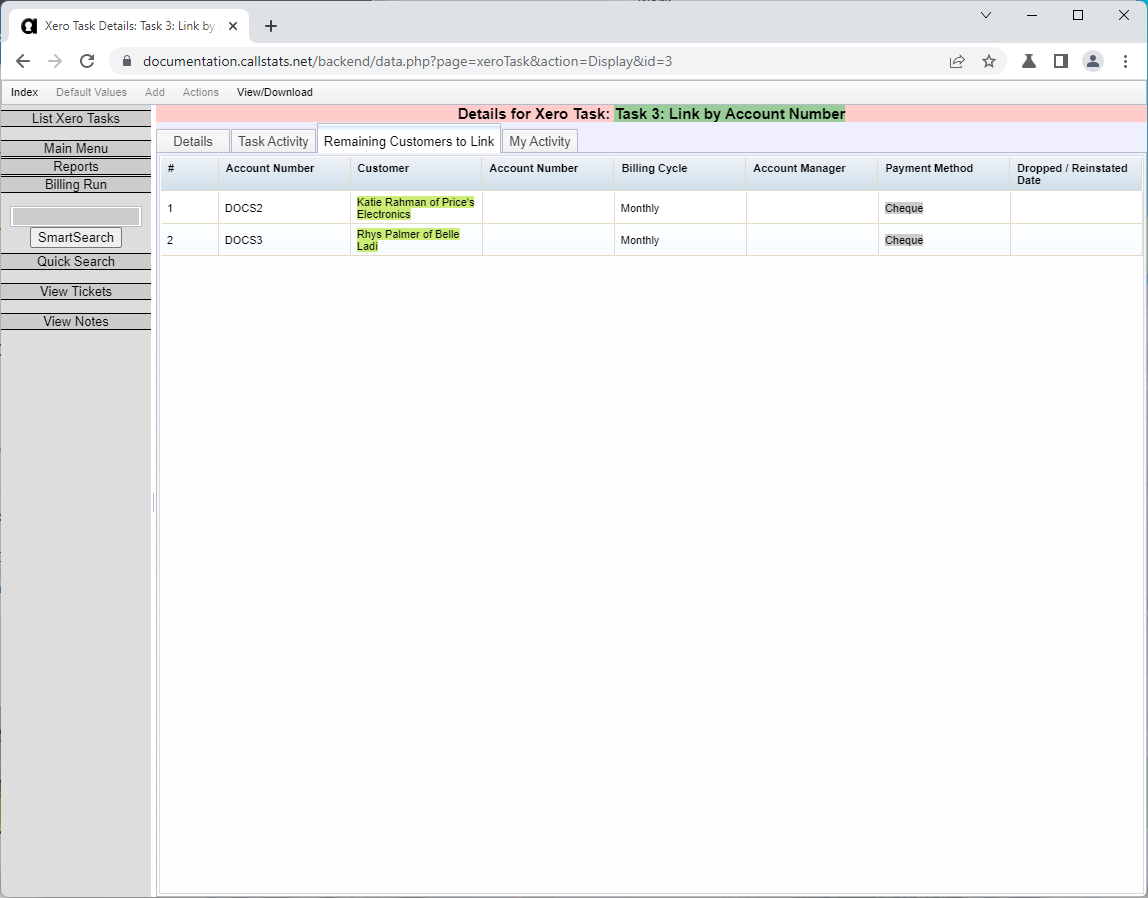
If customers remain unlinked:
- They might not exist in Xero yet (next task will create them)
- Account numbers might not match
- Fix matching issues and run the task again
Alternative: Link by customer name (less reliable than account numbers)
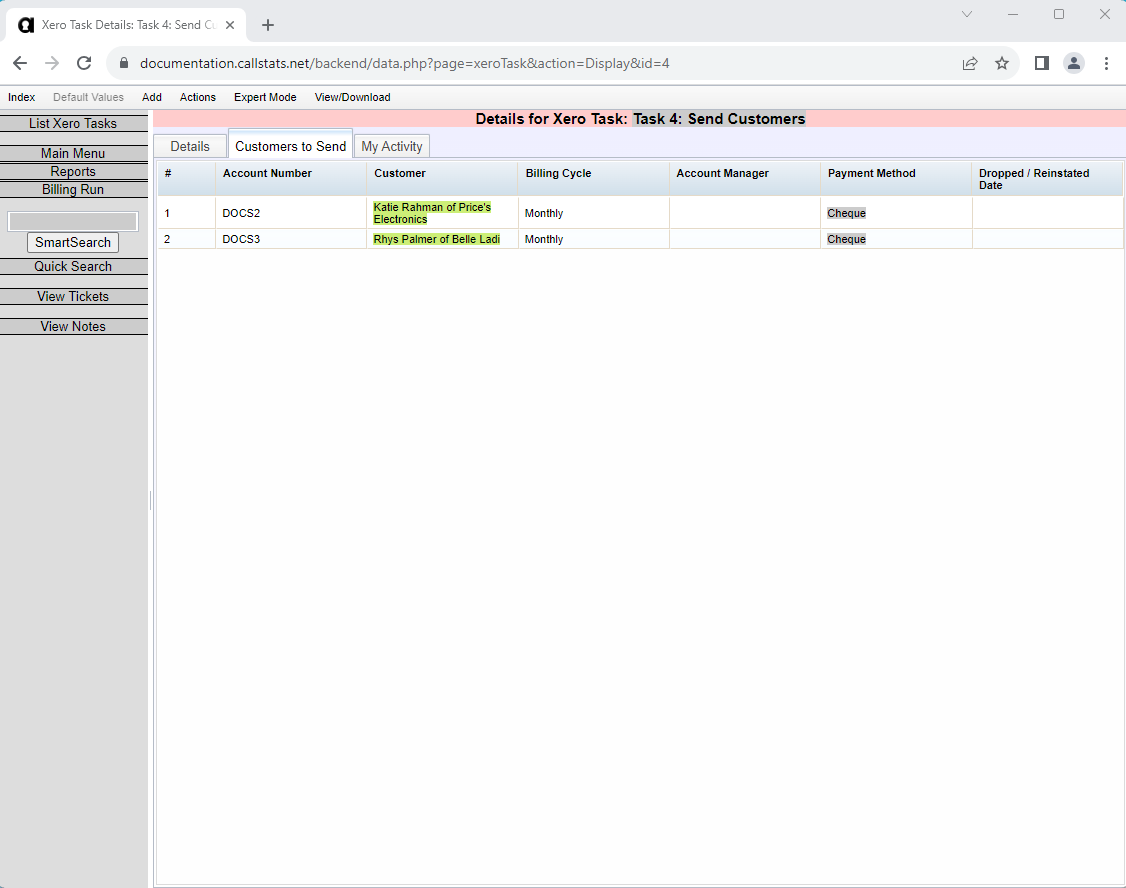
Sending Existing Customers
Create platform-only customers in Xero.
Steps:
- Go to Actions > Xero > Send > New Customers
- Check the Customers to Send tab
What happens:
- Platform creates contacts in Xero
- Uses name, address, and other details
- Automatically links after creation
Note: Run this task even with no customers to send.
Warning
Check carefully - customers already in Xero will be duplicated if sent again.
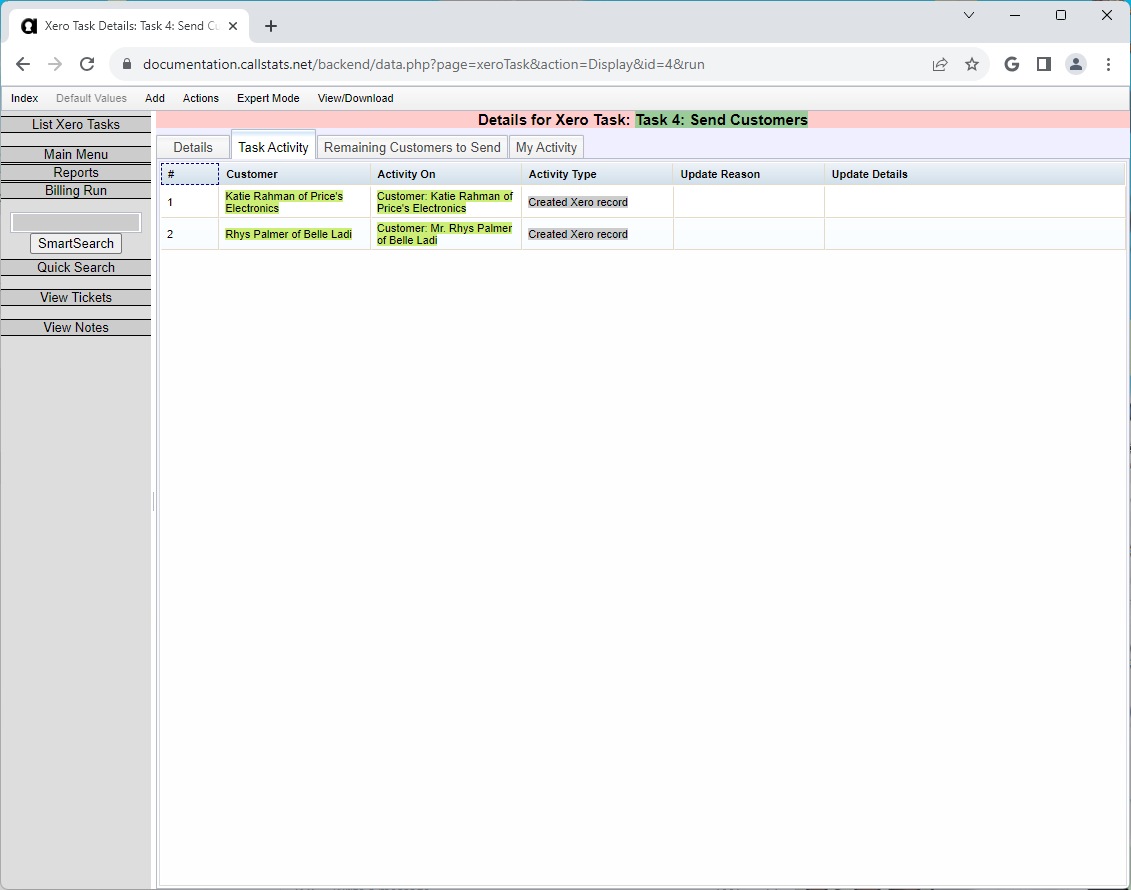
- If the list looks correct, click Run Task
Success indicators:
- Status shows “Complete”
- Task link turns green
- Check Task Activity tab
- Check Remaining Customers to Send tab
If the task fails:
- Status shows “Failed” in red
- You’ll get an email with error details
- Fix the errors and run again
Linking Existing Invoices
Link invoices using their invoice numbers.
Requirements: Customers must be linked first.
Steps:
- Go to Actions > Xero > Link > Invoices
- Check the Invoices to Link tab (shows all unlinked invoices)
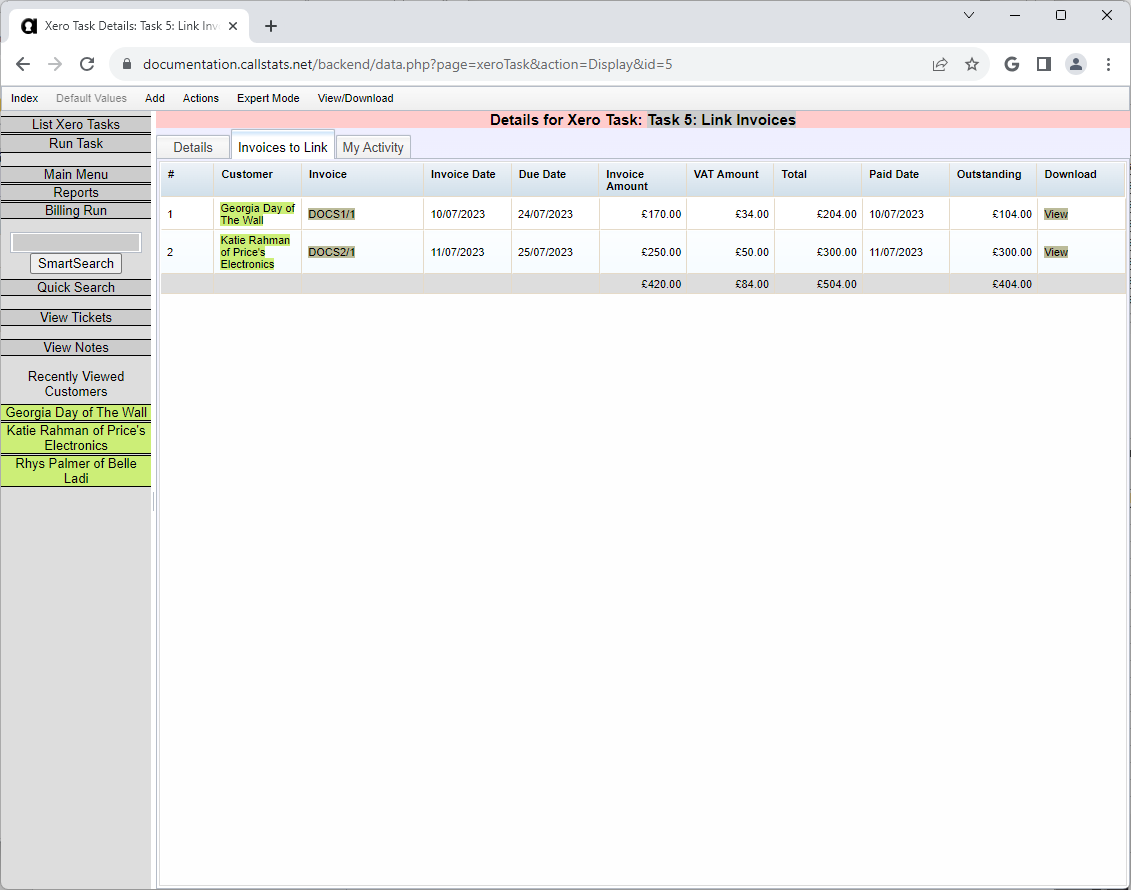
- Click Run Task
The task takes time with many invoices. When complete:
- Status shows “Complete”
- Task link turns green
- Check Task Activity tab before continuing
- Check the Remaining Invoices to Link tab
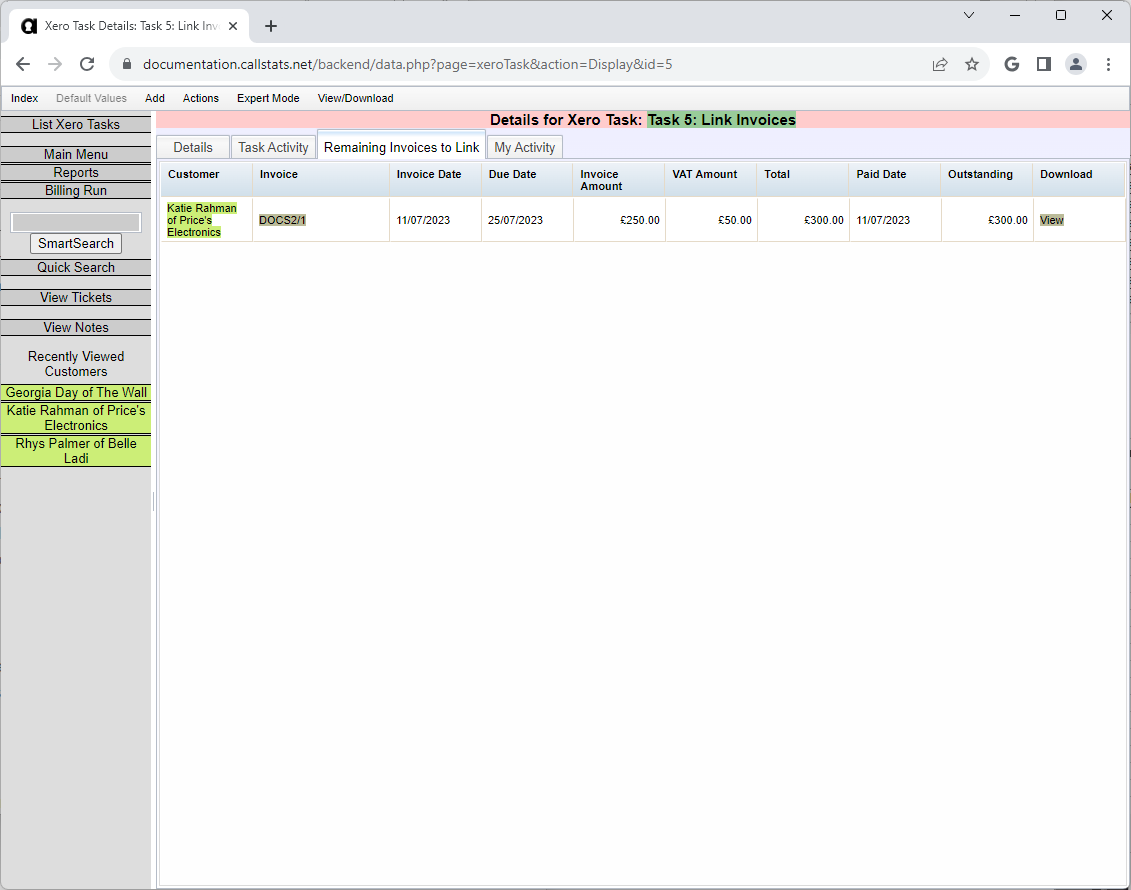
If invoices remain unlinked:
- They might not exist in Xero yet
- Invoice numbers might not match
- Consider setting a cut-off date to skip old invoices
Sending Existing Invoices
Create platform-only invoices in Xero.
Steps:
- Go to Actions > Xero > Send > New Invoices
- Check the Invoices to Send tab
Note: Run this task even with no invoices to send.
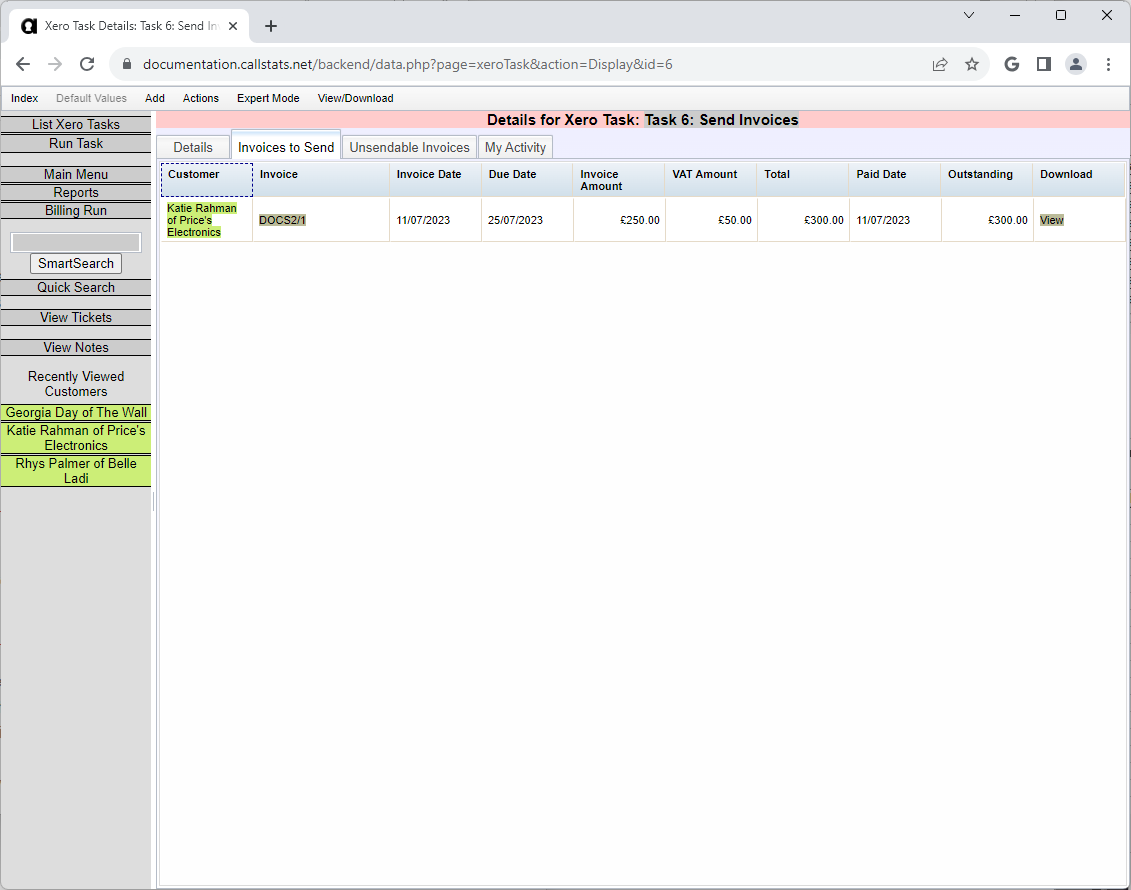
Warning
Check carefully - invoices already in Xero will be duplicated if sent again.
- If correct, click Run Task
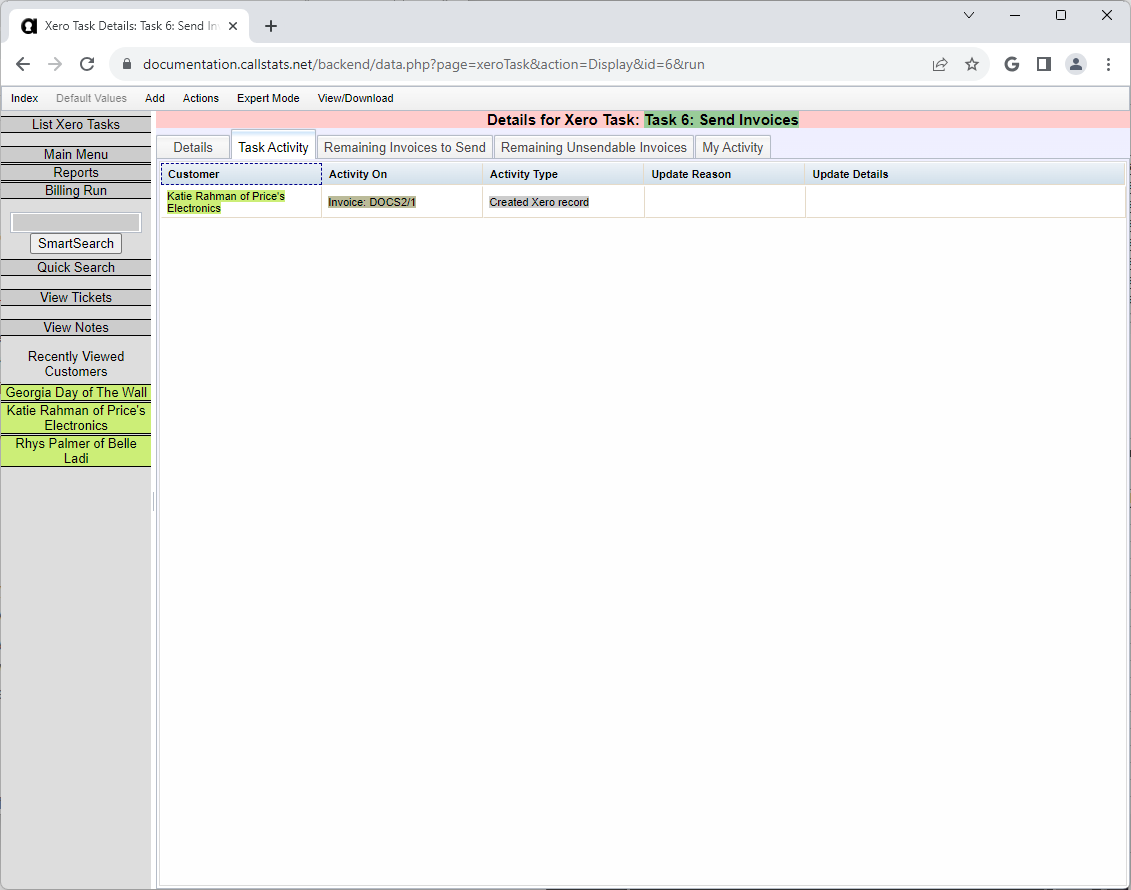
Check results:
- Task Activity tab
- Remaining Invoices to Send tab
If errors occur:
- Fix issues from the email
- Run the task again
Linking Existing Payments
Link payments using date and amount.
Requirements: Invoices must be linked first.
Steps:
- Go to Actions > Xero > Link > Payments
- Check the Payments to Link tab
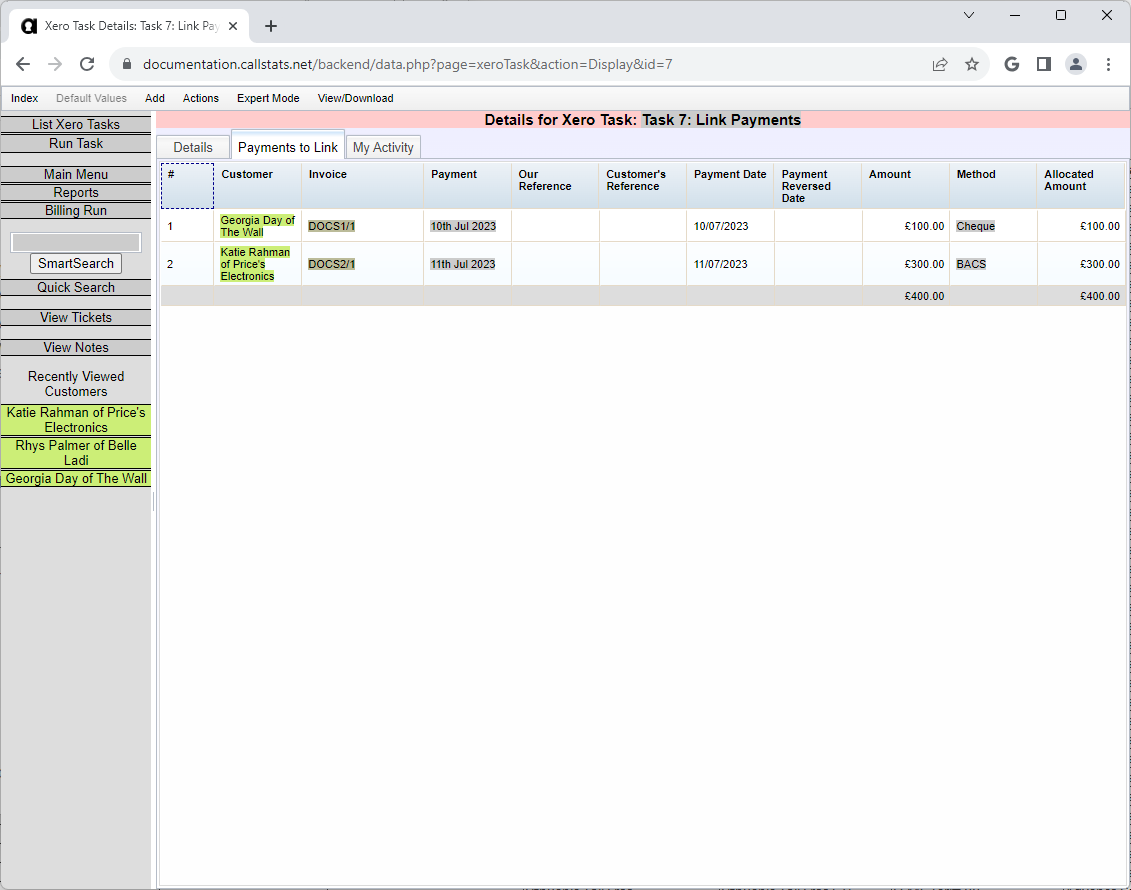
- Click Run Task
- Check Task Activity tab when complete
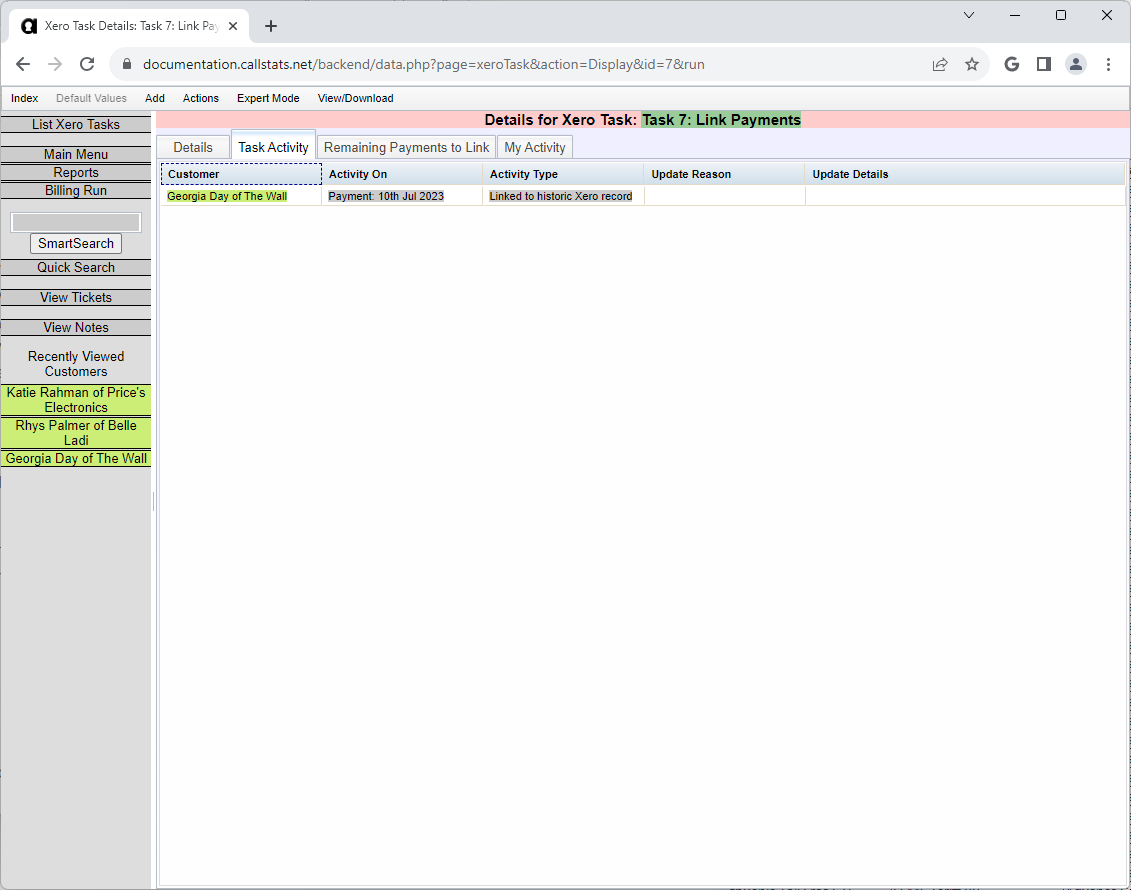
- Check the Remaining Payments to Link tab
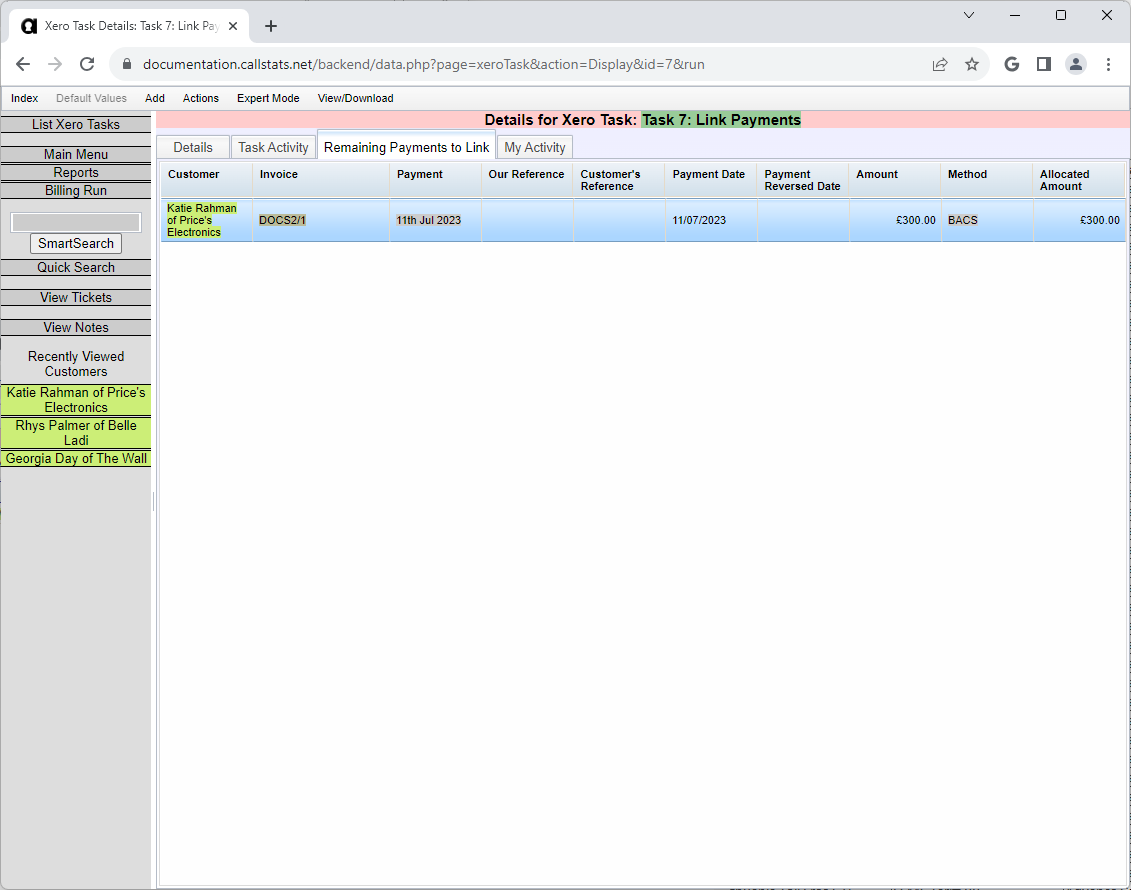
If payments remain unlinked:
- They might not exist in Xero yet
- Dates might not match (Xero uses bank receipt date, not payment date)
- Amounts might differ
- Consider setting a cut-off date for old payments
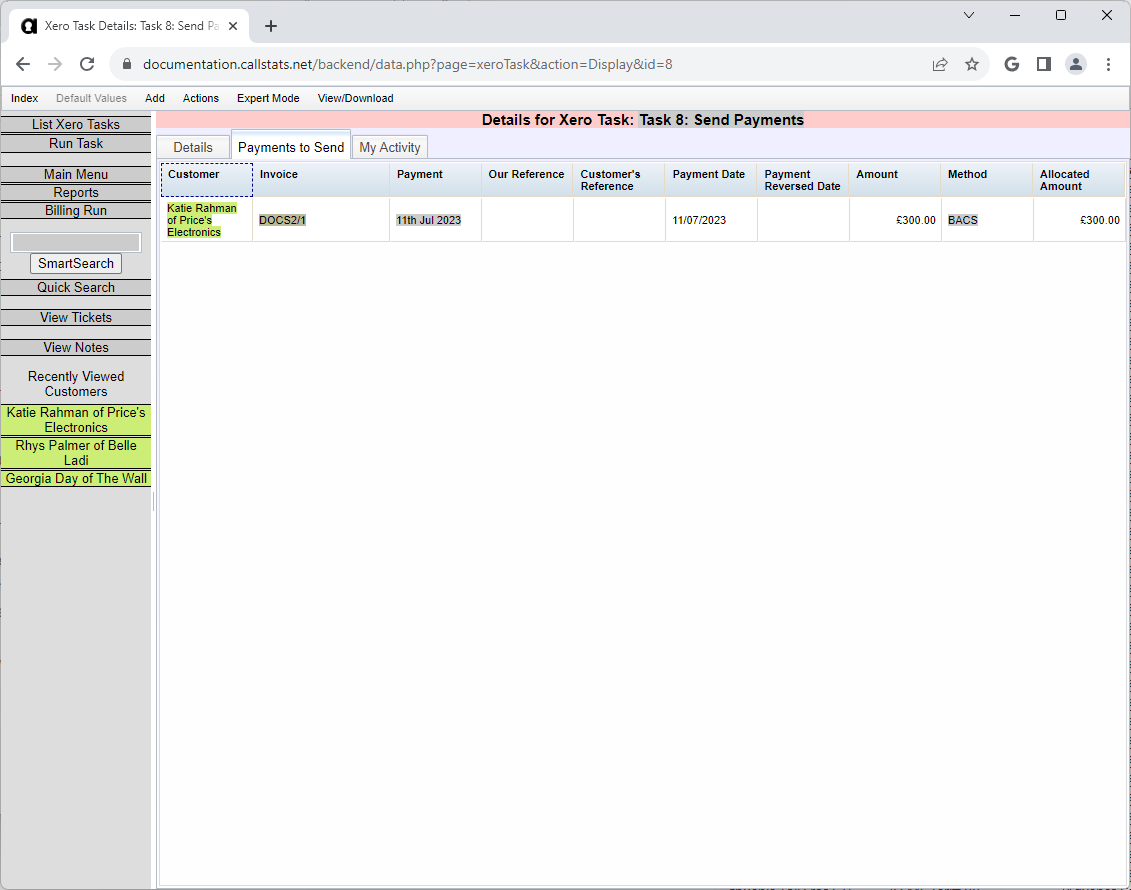
Sending Existing Payments
Create platform-only payments in Xero.
Steps:
- Go to Actions > Xero > Send > New Payments
- Check the Payments to Send tab
Important about split payments:
- Xero splits payments that cover multiple invoices
- Check the “allocated amount” to avoid double-counting
- Each invoice gets its own payment record in Xero
Note: Run this task even with no payments to send.
Warning
Check carefully - payments already in Xero will be duplicated if sent again.
- If correct, click Run Task
Verify completion:
- Check Task Activity tab
- Check Remaining Payments to Send tab
Fetching Existing Payments
Import payments from Xero that aren’t in the platform yet.
This includes:
- Manual payments entered in Xero
- Payments from bank feeds
Steps:
- Go to Xero Tasks
- Click Actions menu
- Create a Fetch Payments task
- Run the task
Note: This is optional - missing payments sync automatically later.

- Check Task Activity tab to see imported payments

Initial Setup Complete
You’ve finished when:
- All tasks show “Complete”
- All task links are green
- No remaining items to link or send
What’s next? See Ongoing Xero Tasks to keep your data synchronised as you add new customers, invoices, and payments.